Just starting out as a photographer? This is the blog post for you!
Starting my journey as a professional photographer was not only daunting but also incredibly discouraging at times. I fell in love with photography a decade ago, but it was only after I had my first baby that I quickly decided I wanted to turn my hobby into a business. In an effort to help other photographers, I put together my list of top tips for new photographers!
Identify and develop your style
I don’t know about you, but when it comes to photography I am obsessed with several styles. From light and airy, true to color, dark and moody, low light and colorful, etc., I had to choose my own personal style from a range of different types. Ultimately, my photography is light and true to color, but it took time to realize that I am naturally not as “light and airy” as the photographers I so admire and love. My photos are colorful and timeless, steering away from overexposure and staying closer to natural tones.
I often found myself discouraged when I wasn’t achieving light and airy photos, but embracing my art as it naturally came to me was one of the biggest ways I have grown over the years. I was drawn to the beauty and colors of true-to-color photography! One of my best tips for new photographers is to study your favorite photography and learn how to emulate the styles you most admire and are naturally drawn to. Sometimes, in my personal photography I purposefully photograph and edit differently. Aiming for deeper colors and intentional shadows and contrast pushes my boundaries and forces me to try new things in both shooting and editing. As a photographer you can choose to be a chameleon once you understand your camera, editing, and color theory, but it is also incredibly important that you represent yourself consistently for clients.


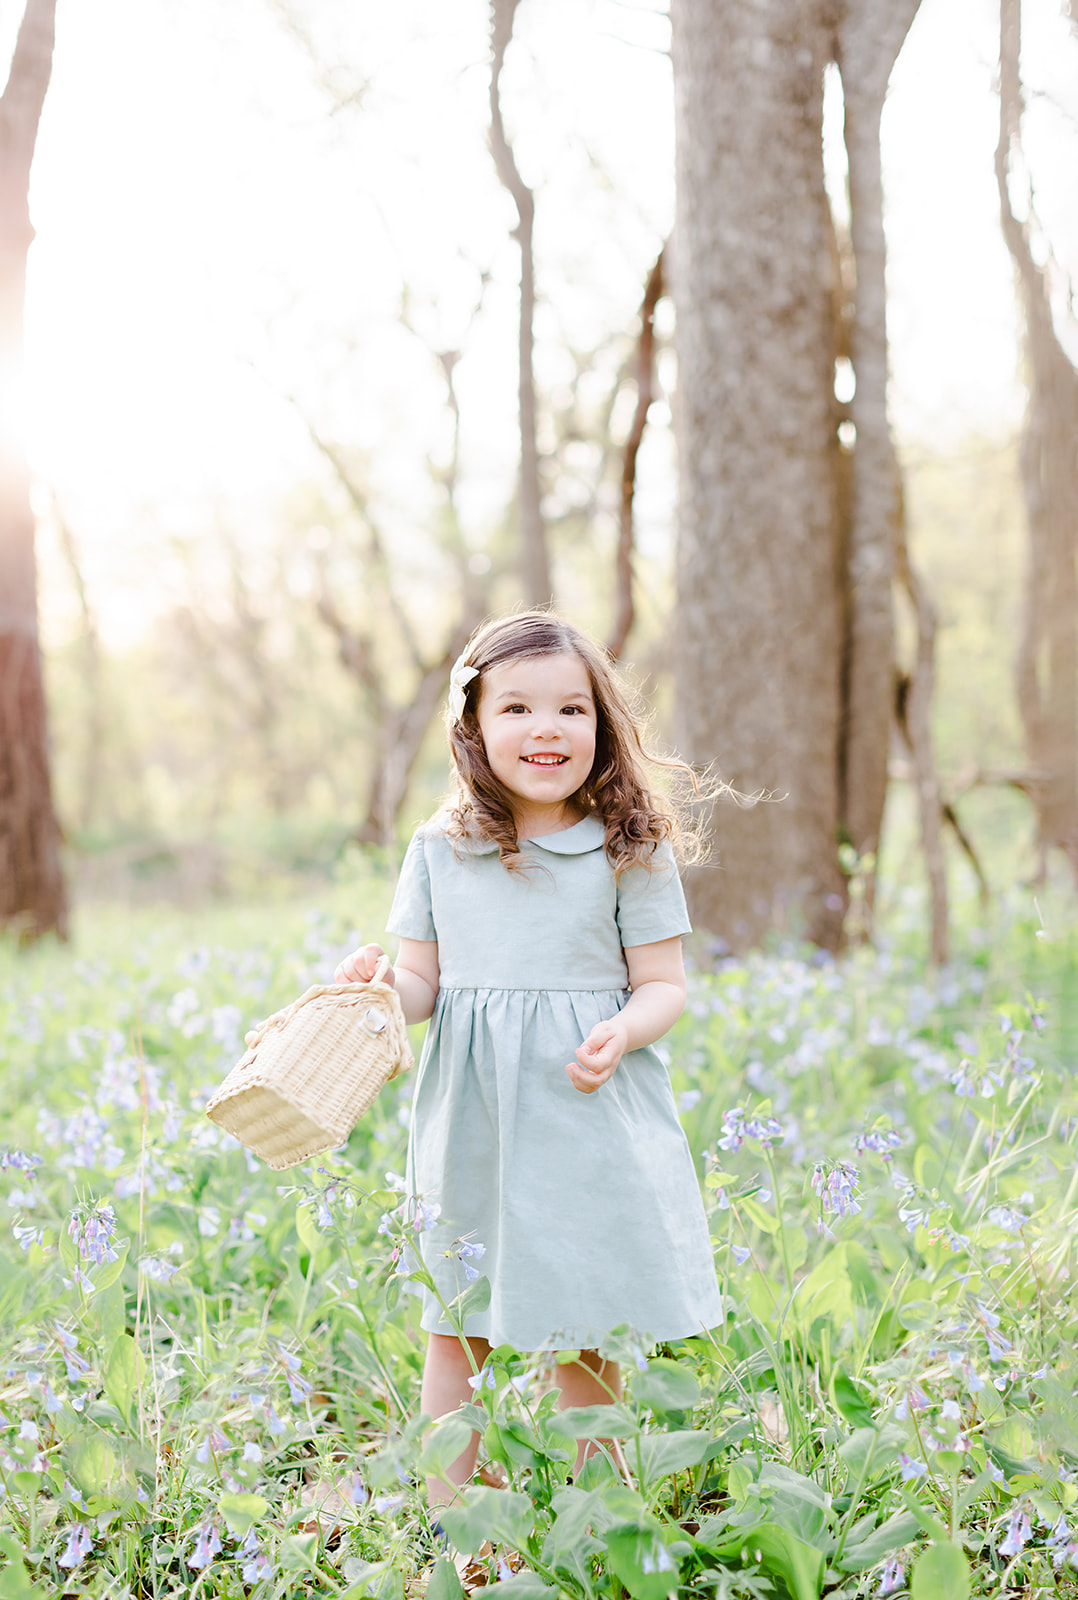
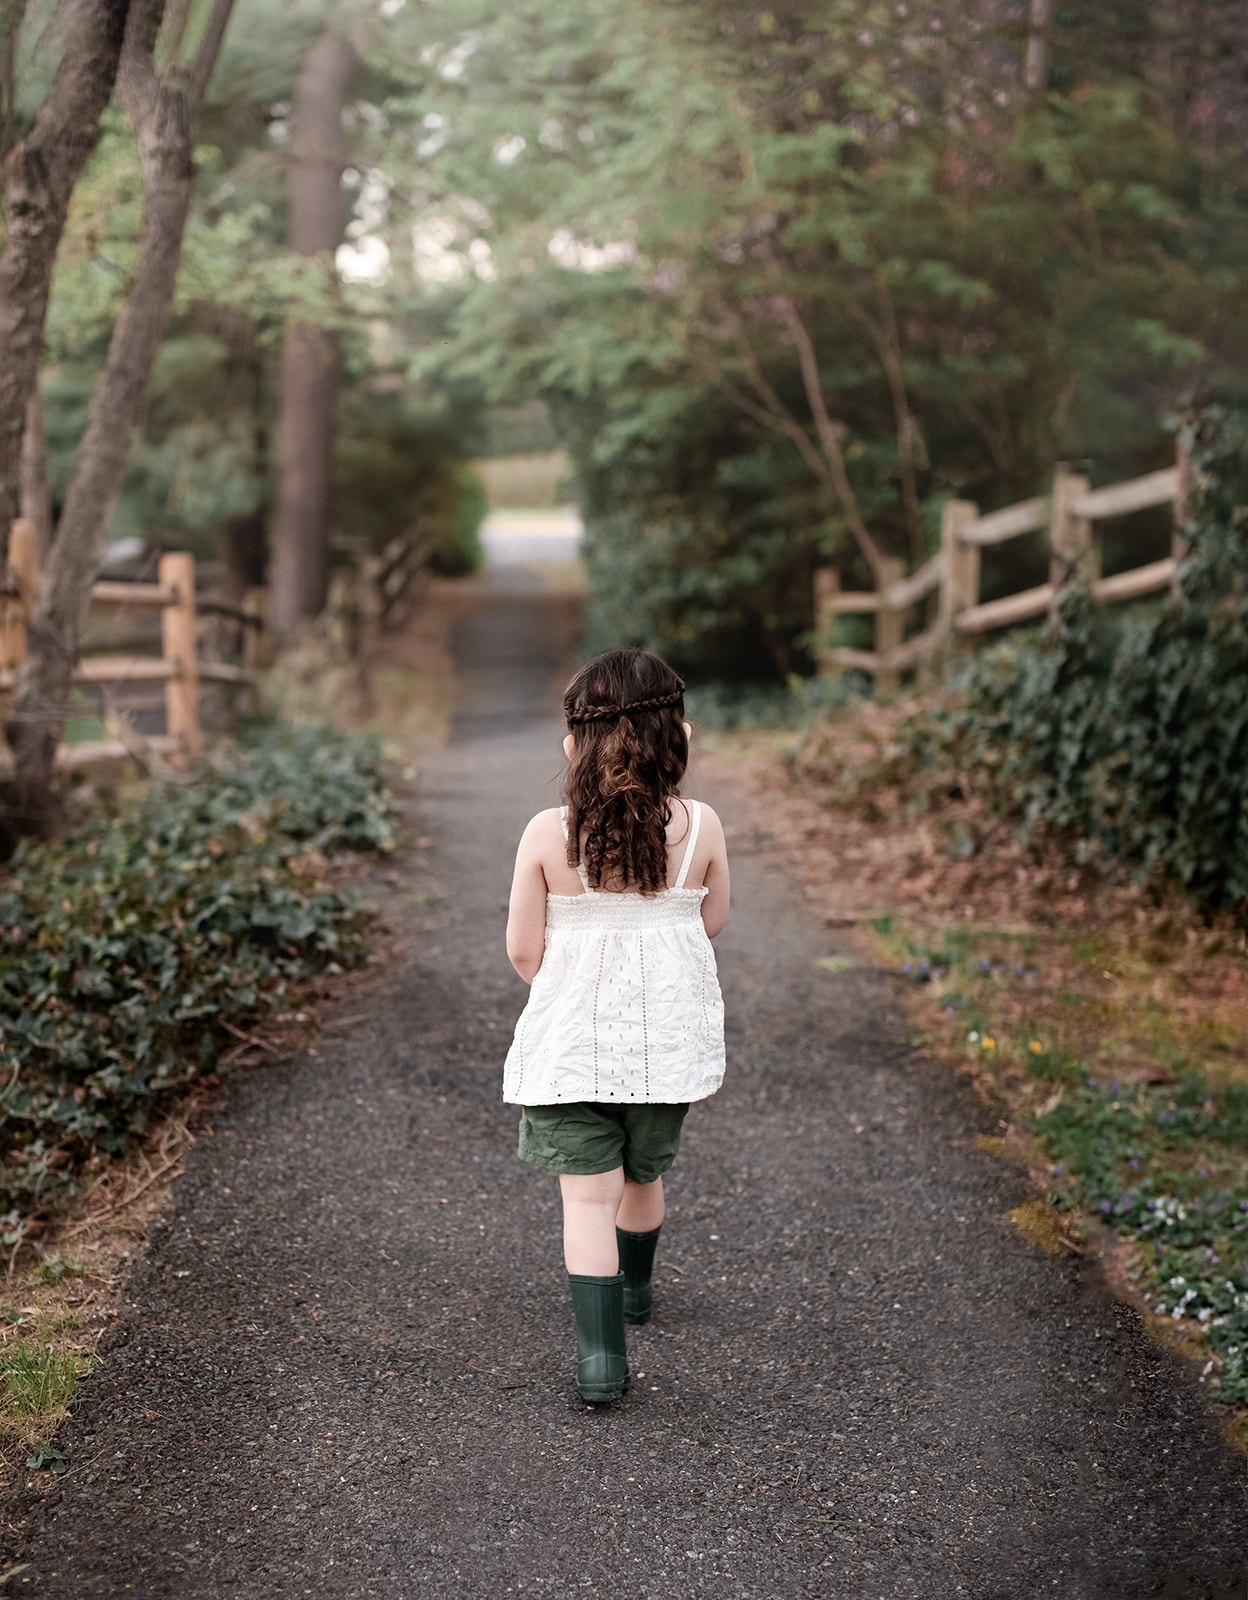
Being able to set a vision and create it in camera and in post took years of practice. There is nothing better you can do for yourself than to practice as much as possible! These photos of my daughter are the perfect example of how I intentionally push myself as an artist. The first represents my typical style and contrasted by the deep, rich colors of the second photo. I intentionally chose different wardrobe colors, a different location, and shot and edited differently to achieve these two looks.
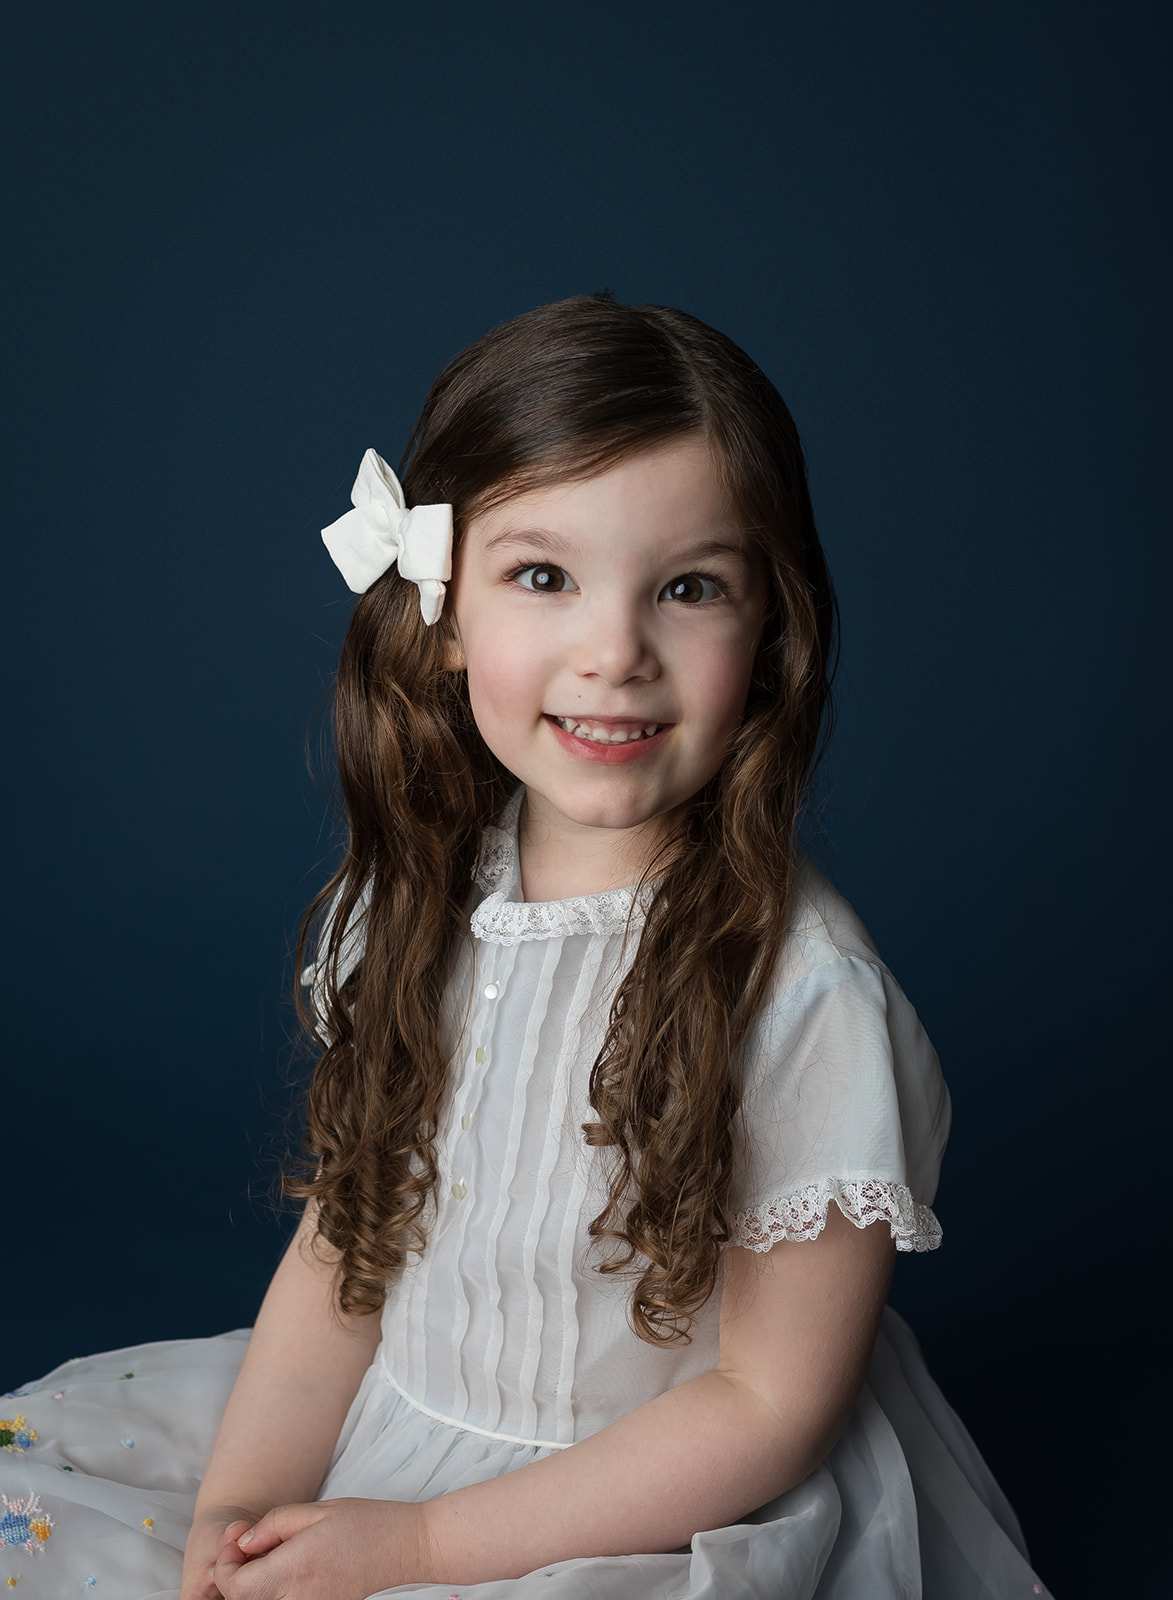
In the last two studio shots, I intentionally used off camera lighting in very different ways. In the cake smash session I wanted bright, white photos that focused on my baby. For the second studio shot, I was aiming for deep colors and shadows to highlight the beautiful heirloom dress she was wearing. Identifying what you want your photos to look like and learning the techniques necessary to achieve that look is critical to identifying who you are as a photographer!
Invest in education
There was no better money spent than my investments in education. It has taken years to achieve the style I aim for (light and true to color!), learning both how to get the right settings in camera and how to edit my photos properly. Whether it is starting from the basics, mastering posing, or learning advanced Photoshop tutorials, there is something for everyone to help you achieve what you desire from your art. If you aren’t able to invest money, invest time and look up free Youtube tutorials! I swear everything is a Google search away. And remember, we all start somewhere, which leads me to my next tip!
Here are some of my favorites that I have taken or plan to take in the future, because no matter how far you come, you should never stop learning!
Amy and Jordan: If you are just starting out, Amy and Jordan or Katelyn James are your best bets. They will teach out the basics through advanced techniques in such an easy to understand way!
Katelyn James Photography: Like Amy and Jordan, Katelyn James education is comprehensive and has something to offer for everyone, whether you are a beginner or more advanced photographer.
Light Livin Photography: I think it goes without saying that Amber’s stunning style is #goals for many of us! Everything from her style and vision to shooting and editing is pure perfection. Her course is definitely on my wishlist for his year!
Meg Loeks: Meg may not shoot in a photography style you are accustomed to seeing from me, but she is my favorite photographer on the planet. Her timeless vision and stunning expertise in low light photography is incredibly inspirational to me. I have pushed myself creatively because of her and I am constantly inspired by her timeless work. She is also the reason I became a Gold Hope Project volunteer!
Always Shoot in Manual Mode
The biggest mistake I made in my early years of photography (pre-clients) is depending on my camera to make technical decisions. I even said once to a fellow photographer that I respect so much, “why would I put my camera in manual mode, it can definitely make better decisions than me!” Facepalm. So embarrassing looking back at that moment. Manual mode is the holy grail. A good photograph comes from the skills of the photographer NOT the camera. Those comments you hear all the time, “your camera takes such good pictures!” Yeah, this is just so false (sorry!).
A camera can only be as good as the photographer who understands the exposure triangle, has a vision for their work, and is able to bring that vision to life with education, experience, and raw talent. Using manual mode is truly the only way to be able to control every aspect of your work and to bring your vision to life.
Invest in mentorship
Another type of education that I highly recommend is mentorship. It helped me so much to have one-on-one time with one of my favorite photographers when I started my business and it was truly one of the best investments I made once I had started nailing down my photography skills. From shooting and editing to business development and beyond, mentorship is the perfect way to quickly enhance your skillset and elevate your business. Many photographers offer group or 1-on-1 mentorship opportunities. I also offer mentorship to photographers and cater each mentorship package to your needs and budget. Want to see how I edit? Great, we can do that. Want to talk about business development? Awesome, no problem! Have lighting questions? I’ve got you. Feel free to reach out!
Pro-tip: Please don’t expect a photographer to donate their time and expertise for free. We are all business owners with busy lives and our time and expertise came from significant investment of our own over many years. Find someone who fits your budget and goals and ask them what they are able to offer you!
Practice, practice, practice
I realize this is probably the most annoying piece of advice, but there is no faster way to improve than to continually practice and learn from your mistakes. This truly is the most important of all of the tips for new photographers. It takes time to develop both your style and and eye for how to shoot and edit. Practice shooting for the specific type of editing style you are aiming for because getting it right in camera is really the best way to get the photos you want. There is truly no better tip for new photographers!
Pro-tip: Study posing and come up with a workflow. The Unscripted App is a great place to start! There are example poses and prompts for every kind of session and even some helpful business tools.
Invest in a full-frame camera
This is a tough one. I know not everyone has thousands of dollars to spend on gear, but hear me out. It is better to invest in a used full frame camera and professional glass (lenses) to learn your skill with than it is to spend money on a crop-sensor DSLR that you will later have to upgrade and re-learn a new system. There are so many advantages to a full frame camera and good glass and it is easy to find high quality options at a lower cost when buying used.
I started off with a used Canon 5D Mark II that I purchased from a good friend. While it was already well-loved, it was an incredible camera with plenty of mileage left. I also purchased a used 35mm lens that was in perfect condition that I still shoot with all the time! There are ways to save money when starting out, but I wouldn’t skimp on my camera body. It is worth waiting and saving for! My two favorite places to buy from are B&H and Adorama, and if you keep a close eye on their used gear you can find very high quality pieces in excellent condition.
If you plan to be a portrait photographer and can only afford one lens, I would suggest a 50 mm like this one.
Start off with no or very low-cost sessions
I’m going to be blunt here. Do not charge clients if you are practicing. If you need photos to build your portfolio that is different (though model calls are great for this and I would recommend also doing them at no cost in exchange for some free photos!), but if you are still learning and trying to figure things out, don’t charge people. It sets you up for more stress and could bring negativity to your business if clients are unhappy. Instead, photograph your friends and family at no cost and do free model calls to practice and grow your portfolio. When you start mastering consistency, then start charging. At this point remember to charge your worth, which is calculated based on your cost of doing business. That is a conversation for another blog though!
Pro-tip: Facebook is a great place to find people to practice on! My very first practice sessions were Fresh 48s that I offered for free in local Facebook mom groups.
Start a legitimate business
Get insurance. Pay taxes. Register your business. Do things right from the very start. Photography is a legitimate small business and when you charge clients, doing things right will both benefit and protect you. Also, if a location requires a permit, get the permit. Don’t be the photographer that ruins it for the rest of us!
I hope these tips for new photographers just starting out were helpful! If you are interested in learning more or inquiring about mentorship, feel free to reach out to me anytime!
Alexia Ballantine Photography is an award winning portrait photographer specializing in maternity, newborn, and family photography. She is based out of Washington, DC, Maryland, and Northern Virginia but is available for virtual mentorship opportunities.